 By
By MCP hit infrastructure status quietly. The Python and TypeScript SDKs crossed 97 million monthly downloads in March 2026 — a 4,750% climb in 16 months. Claude Desktop, Cursor, and VS Code all ship with first-class MCP support. There are over 9,400 public servers catalogued. And yet most developers have only ever been on the consuming end: installing servers other people built, running into the 30–50% installation failure rate that plagues community-authored packages.
Building your own MCP server sidesteps all of that. It takes under 30 minutes with Python and FastMCP, and it gives you something no pre-built server can: tools tuned exactly to your codebase, your APIs, and your workflow. Here is how to do it with the current spec.
First: The Spec Changed. Most Tutorials Are Broken.
The 2026-07-28 MCP specification removed sessions entirely. The Mcp-Session-Id header is gone. The initialize handshake is gone. If a tutorial you are reading still shows either of those, close the tab — it is teaching you patterns that will not work with any up-to-date client. Appwrite’s breakdown of the stateless migration covers the full impact if you need the details.
The shift to stateless is the right call. The old session model required every follow-up request to reach the same server instance, which made load balancing nearly impossible for remote servers. Now an MCP server behaves like any other HTTP service: round-robin load balancing works, horizontal scaling works, and there is no sticky session complexity to manage. If your application needs to carry state across calls, you mint an explicit handle from a tool and pass it back as a plain argument — the same pattern HTTP APIs have used for decades.
FastMCP’s latest release, built on the official MCP Python SDK, already implements the new spec. Install it and you get the current behavior by default.
Setup: Two Commands
Install the official MCP Python SDK using uv:
uv add mcpThat single dependency includes FastMCP along with everything needed to run a server on stdio or HTTP transport. Create a file called server.py and add this:
from mcp.server.fastmcp import FastMCP

mcp = FastMCP("my-server")

if __name__ == "__main__":
    mcp.run()
This is a valid, runnable MCP server. It exposes nothing yet, but it will handshake correctly with any MCP client. Add your first tool next.
Build a Real Tool
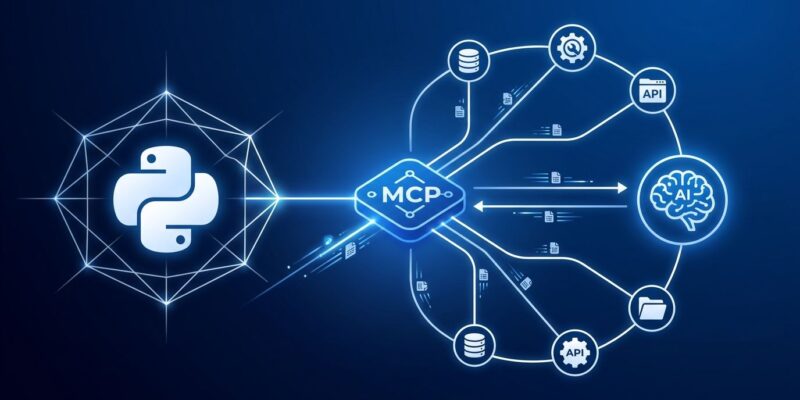
Tools are the core primitive — they are what the LLM actually calls, the same way it calls functions in a standard function-calling API. The difference is the protocol layer: MCP routes the call to your server over stdio or HTTP, runs the function, and returns the result. FastMCP generates the JSON schema for your tool automatically from Python type hints and the docstring.
Here is a practical example — a directory inspector that an AI agent can use to understand your project structure:
from mcp.server.fastmcp import FastMCP
import os

mcp = FastMCP("file-inspector")

@mcp.tool()
def list_directory(path: str, max_depth: int = 2) -> str:
    """
    List files and directories at the given path.
    Returns a tree-formatted string up to max_depth levels deep.
    Use this to explore project structure before making changes.
    """
    lines = []
    for root, dirs, files in os.walk(path):
        depth = root.replace(path, "").count(os.sep)
        if depth >= max_depth:
            dirs.clear()
            continue
        indent = "  " * depth
        lines.append(f"{indent}{os.path.basename(root)}/")
        for f in files:
            lines.append(f"{indent}  {f}")
    return "\n".join(lines)

if __name__ == "__main__":
    mcp.run()
Two things matter here: the type hints on path and max_depth are what FastMCP uses to generate the tool’s parameter schema, and the docstring is what the LLM reads to decide whether and how to call the tool. A vague docstring means the model will use the tool incorrectly. Write it as if you are documenting a function for a teammate who cannot ask follow-up questions.
Connect to Claude Desktop or Cursor
On macOS, open ~/Library/Application Support/Claude/claude_desktop_config.json. On Windows, it lives at %APPDATA%\Claude\claude_desktop_config.json. Add your server:
{
  "mcpServers": {
    "file-inspector": {
      "command": "uv",
      "args": ["run", "--directory", "/absolute/path/to/project", "python", "server.py"]
    }
  }
}
For Cursor, the format is identical — the file lives at ~/.cursor/mcp.json instead. Restart the client after saving. Your tool will appear in the client’s tool list within seconds. Test it by asking the model to list your project’s directory structure.
What to Build Next
Stdio transport is the right starting point: no networking, no ports, no auth to manage. When you want a server your whole team can share, or one running on a remote machine, switch to HTTP with one line:
if __name__ == "__main__":
    mcp.run(transport="streamable-http", host="0.0.0.0", port=8000)
The client config changes from command/args to a url field. The spec includes OAuth 2.1 for auth, so enterprise deployments have a standardized path. The official MCP Python SDK documentation covers remote deployment and authentication in detail.
The deeper opportunity is resources and prompts — the two primitives this post skips for brevity. Resources let you expose data sources (database schemas, config files, API docs) that the model reads without executing a tool call. Prompts package reusable instructions into named templates users invoke directly from any MCP client. Both use the same decorator pattern as tools.
MCP’s growth curve is not driven by hype — it is the standardization layer that makes agent workflows composable across tools and providers. Build one server and you will immediately see why.